Guide
Chicken Skin Side Up or Down in an Air Fryer? What to Do, Cut by Cut
Ad links. We may earn a commission on purchases, at no extra cost to you.
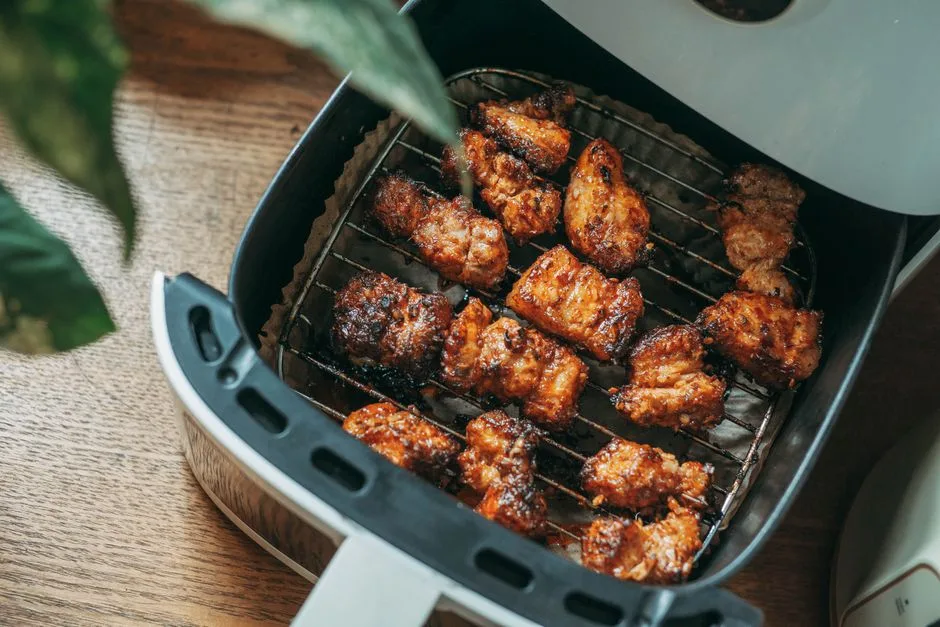
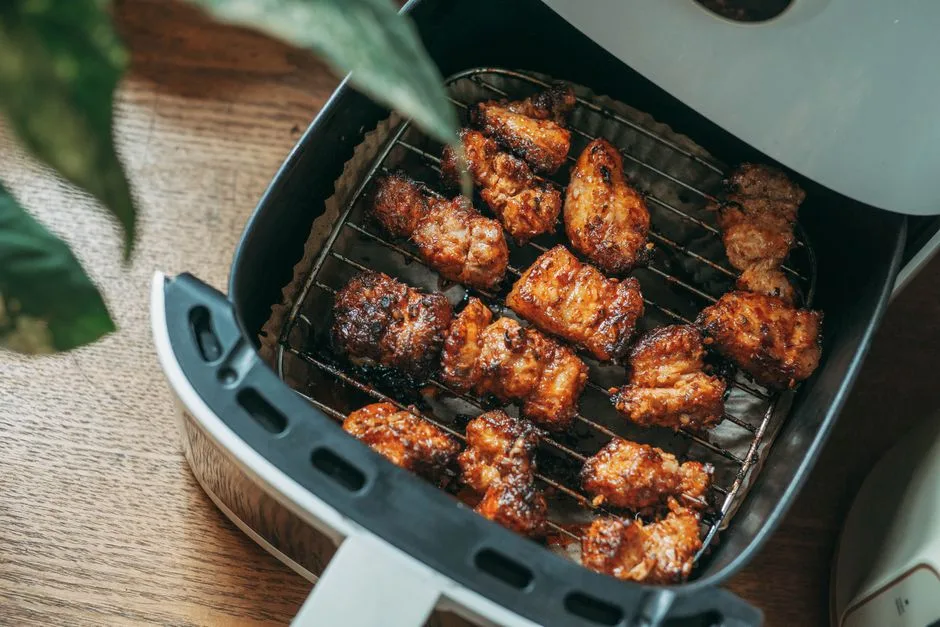
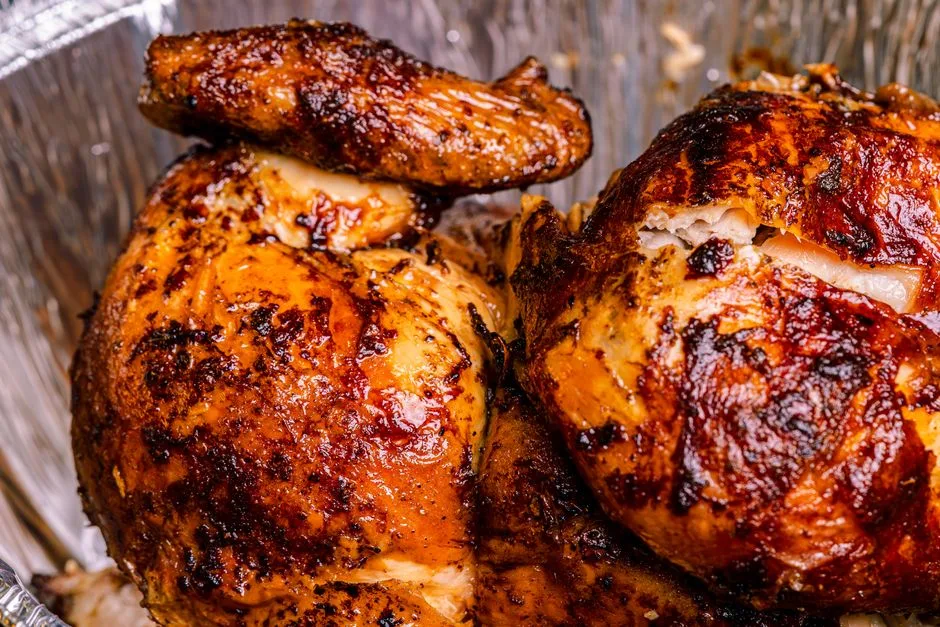
Skin side up. In nearly every basket-style air fryer the heating element and fan sit above the food, so the hottest, driest and fastest-moving air strikes whatever faces the top of the drawer. Skin that faces up sits directly in that airflow, loses surface moisture quickly and browns; skin that faces down rests against a perforated basket in its own rendered fat, where it tends to steam rather than crisp, and where it is far more likely to stick and tear when you lift the piece out. The one sensible exception is the opening stage of a longer cook on thick bone-in pieces or a whole bird, where a few minutes skin side down lets fat begin to render and helps the denser underside catch up. Even then the piece should finish skin side up, because the last stretch of the cook is what decides how the skin turns out.
Why the airflow, not the recipe, decides it
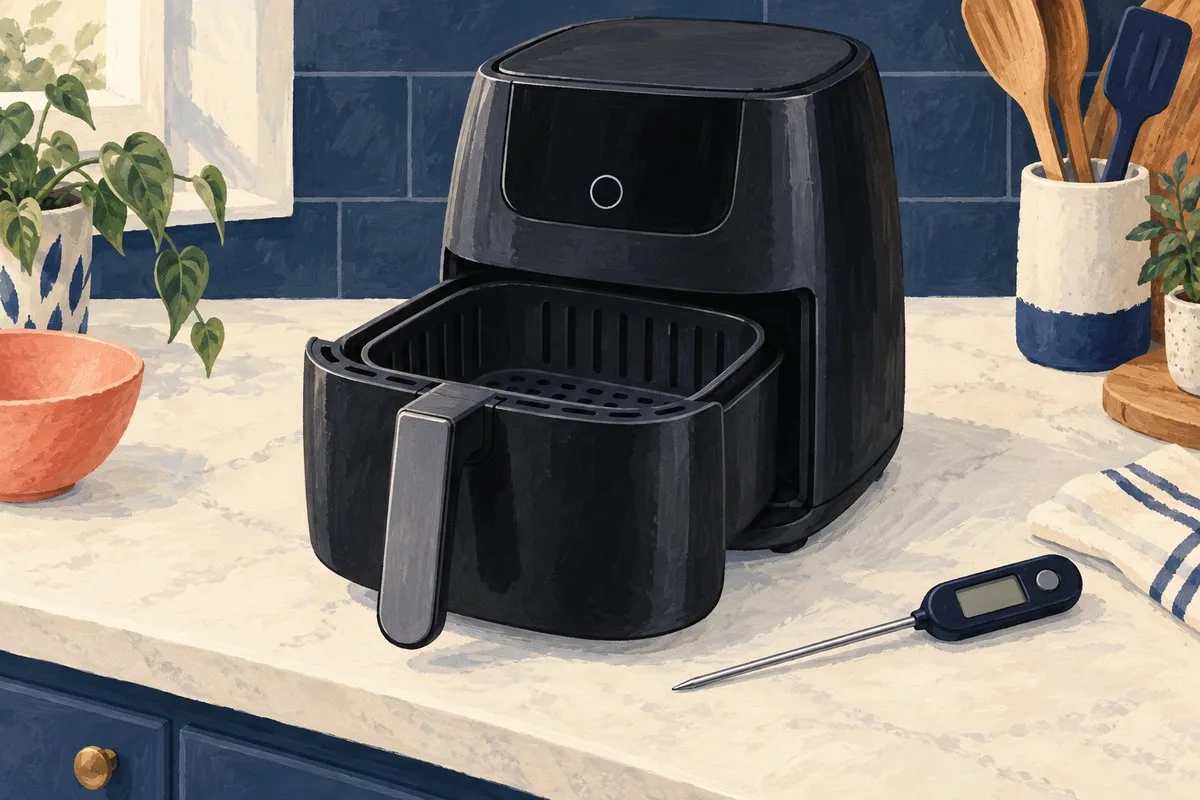
An air fryer is a small convection oven with an aggressive fan. In the common drawer or basket design, that fan and the element are mounted in the lid, and air is pushed down over the food, through the perforations and back up around the sides. The surface facing up therefore gets the most direct heat and, more importantly, the most air movement. Crisp skin is mostly a moisture problem: the surface has to dry out before it can brown properly, and moving air is what carries that moisture away.
The downward-facing surface has the opposite conditions. Fat renders out of the skin, runs downward and collects around the contact points, and any liquid that pools there keeps the surface at roughly the temperature of simmering liquid instead of letting it dry. That side will still cook, and it will often take on colour from direct contact with the hot basket, but it is browning by conduction in fat rather than crisping in air. The result is usually darker in patches and softer overall.
Oven-style air fryers with wire racks change the picture slightly but not the conclusion. Air can circulate underneath a rack, so the down side fares better than it does in a solid-bottom basket, and the difference between the two sides shrinks. The element is still above, though, so the upward face keeps the advantage. If your model has multiple rack positions, the higher position gives more top heat and faster skin colour, and the lower position is gentler if the skin is darkening before the meat is done.
- Fan and element above the food means the top surface dries and browns fastest.
- A solid-bottom basket lets rendered fat pool, which softens whatever faces down.
- Wire racks in oven-style models reduce the gap between the two sides but do not remove it.
- Whatever position the chicken is in for the final minutes is the position that sets the texture.
When starting skin side down actually helps
Starting skin down is worth considering when the underside is much thicker than the top, or when there is a lot of fat under the skin that needs time to render. Bone-in thighs and leg quarters are the classic case: the bone side is dense, sits closest to the basket and benefits from early contact heat, while the fat layer under the skin softens and begins to run rather than sitting as a rubbery layer beneath a crisp surface.
Treat it as a first stage, not a whole method. A reasonable approach is to give roughly the first third to the first half of the cooking time skin down, then turn and let the skin face up for everything that remains. The final stretch needs to be long enough for the skin to dry out again after being turned, which is why finishing skin down almost always disappoints even when the piece is cooked through.
For anything thin, quick or already lean, skip the manoeuvre entirely. A boneless thigh or a small piece of skin-on breast can be done before the flip has paid for itself, and every turn is another chance to tear the skin.
- Worth it: thick bone-in thighs, leg quarters, whole chicken, anything with a heavy fat layer.
- Not worth it: boneless pieces, thin cutlets, anything that cooks in a short time.
- Rule of thumb: skin down for the earlier part, skin up for the longer finish.
Cut by cut
The general principle bends a little depending on the shape of what you are cooking and how evenly heat can reach it.
- Bone-in thighs: start skin down if you like, but finish skin up for the majority of the time. This is the cut where the two-stage approach makes the biggest difference.
- Drumsticks: they are round, so no side stays down for long. Turn them once or twice so no single face sits against the basket the whole time.
- Wings: forget up and down. Shake or toss the basket a couple of times so the pieces redistribute and every surface gets exposure.
- Skin-on breast: skin up the whole way. The breast dries out easily, and repeated handling costs more than the underside gains.
- Leg quarters and half chickens: skin up, arranged so the thickest part sits toward the outside of the basket where airflow is strongest.
- Whole small chicken: breast down first, then turn breast up for the remainder, so the breast is not exposed to the hardest heat for the entire cook.
- Skin-on chicken pieces cooked with sauce or glaze: skin up and glaze late, since sugar in a glaze burns quickly under direct top heat.
Things that matter more than which side faces up
Orientation is worth getting right, but several other habits have a larger effect on whether the skin comes out crisp. The most common one is surface moisture. Chicken straight from a package or a marinade carries a film of liquid that has to be driven off before browning can begin, so patting the skin thoroughly dry with paper towel is the cheapest improvement available. Salting the skin and letting the pieces sit uncovered in the refrigerator for a few hours draws out more moisture still, and the skin will look visibly drier and tighter before it goes in.
Crowding is the second one. An air fryer works because air moves, and a basket packed edge to edge turns into a steam chamber. Pieces should sit in a single layer with visible gaps between them, and it is better to run two batches than to squeeze one. If pieces are touching, the contact points will be pale and soft no matter which way the skin faces.
A very light film of oil helps conduct heat across the skin and encourages even colour, but chicken skin already contains plenty of fat, so more oil is not better. Lining the basket completely with parchment or foil is worth avoiding as well, since it blocks the perforations that the airflow depends on and traps rendered fat directly under the food. If you use a liner for easier cleanup, choose a perforated one and let the food hold it down.
- Pat the skin dry before seasoning, and salt ahead of time if you have the chance.
- Single layer, gaps between pieces, two batches instead of one crowded one.
- A thin film of oil, not a coating.
- Do not seal the basket floor with a solid liner.
- Preheat if your model allows it, so the skin starts drying immediately.
Flipping without tearing the skin
Skin that has been sitting against a hot basket will often be stuck when you first go to move it. Give it a moment rather than forcing it: as fat renders and the surface sets, a stuck piece usually releases on its own. Slide a thin spatula flat underneath rather than pulling upward with tongs, and use tongs only to steady the piece. A fork through the skin lets moisture and fat escape and leaves an obvious soft spot.
One turn is usually enough for flat cuts. Round cuts like drumsticks benefit from two. Beyond that you are mostly losing heat every time the drawer comes out, and each opening drops the temperature inside and interrupts the drying that crisping depends on. If pieces near the edge are colouring faster than those in the middle, swap their positions during a turn you were making anyway instead of adding an extra one.
- Let stuck skin release itself instead of pulling it free.
- Lift with a thin spatula from underneath; steady with tongs.
- One turn for flat cuts, two for round ones, and rearrange rather than re-turn.
Judging doneness, and rescuing pale skin
Colour is not doneness. An instant-read thermometer in the thickest part, kept clear of the bone, is the only reliable check. The widely used safe minimum for poultry is 165°F (74°C), and many cooks deliberately take thighs and drumsticks further, to somewhere around 175 to 185°F (80 to 85°C), because dark meat becomes more tender rather than drier as the connective tissue breaks down. Breast meat is best pulled as soon as it reaches the safe minimum.
If the meat is done but the skin is still pale, the usual causes are a crowded basket, damp skin at the start, or too low a temperature. The fix in the moment is a short finish at a higher setting with the skin facing up and the pieces spread out, watched closely, since skin goes from golden to burnt quickly under direct top heat. If the opposite happens and the skin darkens while the inside is undercooked, the temperature is too high for the thickness of the cut: drop it, and consider moving the food to a lower rack position in an oven-style model.
Let the chicken rest a few minutes before serving, but rest it on a rack rather than a plate. Skin placed on a flat surface sits in the juices that run out and softens on the underside within minutes, which undoes the thing you spent the whole cook working toward.
- Check with a thermometer in the thickest part, away from the bone.
- 165°F (74°C) is the safe minimum; dark meat is often taken higher for texture.
- Pale skin plus cooked meat: short, closely watched finish at a higher setting, skin up.
- Dark skin plus raw interior: lower the temperature, or use a lower rack position.
- Rest on a rack, not on a plate.
Frequently Asked Questions
Do I have to flip chicken in an air fryer at all?
Not always. Flat cuts placed skin side up in a single layer can be left alone for the whole cook, and the skin will usually be better for it. Turning is most useful for thick bone-in pieces, where an early stage skin side down helps render fat and cook the dense underside, and for round cuts like drumsticks and wings, which have no natural top side. If you do turn, plan on once for flat cuts and finish skin side up.
Why is the underside of my chicken soggy even though the top is crisp?
Because the down side is not really being air fried. It sits against the basket in rendered fat and released juices, so its surface stays wet and cannot dry out enough to brown properly. A perforated liner or a small rack that lifts the pieces off the basket floor helps, as does not overcrowding, since juices pool faster when pieces touch. Turning the piece once so the underside gets some time in the airflow also evens things out.
Should a whole chicken go breast up or breast down in an air fryer?
Start breast down and finish breast up. The breast is the part most likely to dry out, so it benefits from spending the earlier part of the cook away from the hardest top heat, and the flip gives the skin time to dry and colour before serving. Check the temperature in the thickest part of the thigh as well as the breast, since the two are done at different points.
Does parchment or foil change which side should face up?
It does not change the answer, but a solid liner makes the down side noticeably worse. Blocking the perforations cuts off the airflow underneath and traps rendered fat directly beneath the food, so anything facing down effectively cooks in a shallow pool of grease. If you want easier cleanup, use a perforated liner, keep it under the food so it cannot lift into the fan, and still place the skin facing up.
Skin up or down when the chicken is coated in a sauce or marinade?
Skin up, and apply anything sugary late. Sauces and glazes containing sugar or honey darken quickly in direct top heat, so brushing them on during the last few minutes gives colour without scorching. A wet marinade should be wiped off the skin before cooking, since the extra surface moisture has to evaporate before browning can start at all.
Related guides